AI image guides5 min read
How to Preserve Photo Details When Making AI Art
A source-selection and review checklist for keeping faces, gestures, clothing, and meaningful objects recognizable in AI photo art.
In this article
The short answer
Choose a clear source photograph, identify the details that carry its meaning, and limit how much transformation happens around them. Compare the source and result systematically. Treat recognizable people, contact points, and important objects as acceptance criteria before you judge the artistic finish.
Decide what fidelity means for this photograph
Preserving a photo means keeping the details that make this moment yours. In a portrait, that might be a familiar expression and fringe. In a travel photograph, it might be the relationship between a person, a bench, and a recognizable building.
OpenAI notes that image generation can struggle with consistent characters across images and precise text placement or clarity. A prompt is therefore a direction, not a guarantee. Use a review process suited to the details you need to retain.
Make a five-point reference card
Write five observations using visible evidence. For someone beside a lake: head turned left; dark green jacket; both hands around a cup; bag on the right shoulder; railing behind the elbow. This turns a vague feeling of similarity into a repeatable check.
| Detail | Question to ask |
|---|---|
| Identity | Do face shape, hair, and expression still resemble the source? |
| Gesture | Are head direction, shoulders, and limb positions consistent? |
| Contact | Do hands, straps, seats, and held objects connect plausibly? |
| Objects | Are meaningful belongings present, with recognizable shapes? |
| Place | Do the important background elements retain their relationships? |
Choose a source that makes the task clear
- Use the original photograph when available. Inspect faces and important objects at full size before starting; a small preview can hide blur or heavy compression.
- Prefer the frame where the gesture is easiest to read. If several people overlap, choose another photograph or accept a less ambitious transformation.
- Crop only distracting empty edges. Leave breathing room around hands, feet, hair, and the objects that explain the pose.
- Save an untouched copy. Use that same reference when evaluating later attempts so the source does not quietly change during revision.
An original preservation prompt for a general editing tool
This prompt is for an image editor with a full prompt field. Adapt the named details to your own source, then remove anything that is not actually visible.
A prompt to adapt
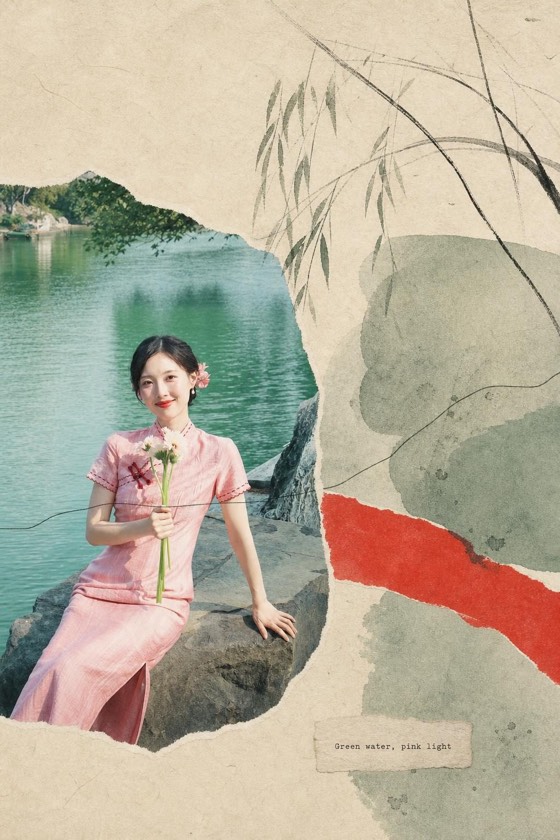
Make an editorial paper-art page using the attached photograph. Preserve the person's identity, leftward head turn, dark green jacket, hands around the cup, and bag strap on the right shoulder. Keep the cup and railing geometry recognizable. Retain a clear photographic core around the person. Introduce subtle paper shapes and pencil marks only in the surrounding negative space. Draw the accent color from the lake. Do not change the gesture, add objects, replace the location, or cover the face with texture. Leave the page without text.
Review in two passes
First, view the entire page. Check whether the subject and scene still tell the same story. Then zoom in and work through your five-point card. Look particularly at thin shapes and intersections: fingers around a cup, glasses near the temples, straps against clothing, and railings behind an arm.
If a critical detail fails, reduce the transformation around that area or return to the source for a new attempt. Avoid accepting a changed face simply because the rest of the page looks polished. When exact photographic fidelity is essential, keep the original photo as the page's main image and add surrounding design in a conventional layout editor.
Keep a set consistent without assuming identical results
For several pages, use a shared palette, margin rhythm, and art direction, then review each person independently. In ZineSketch, try Scenes Gathered with the short mood suggestion Keep the moment clear; gentle paper around it. Its note field allows 60 characters. Start with one representative photo before applying the direction to a larger set.
A few more answers
Frequently asked questions
- Can a prompt guarantee an unchanged face?
- No. Compare the result with the original. If an unchanged face is a requirement, retain the original photographic face in a conventional composition.
- Does more stylization always mean a worse result?
- No. It changes the goal. A silhouette may intentionally remove facial detail, while a family memory page may depend on it. Set the acceptance criteria first.
- What should I do if only one small detail is wrong?
- Use a localized edit if your chosen editor supports it, then recheck the whole image. Otherwise return to the source with a simpler transformation brief.
Sources & further reading
A note from the editors
Made by the people behind ZineSketch.
We operate ZineSketch and use AI to help draft and edit these guides. We review the text and linked sources before publication, identify our own gallery examples, and explain where our product fits. These guides are not independent hands-on tests of every service mentioned.
About the ZineSketch Editorial TeamMake something of your own
Give your photos
a place on the page.
Choose an art direction and start with a moment you want to remember.
Try a restrained photo art page